Lightyear is an accounts payable automation software solution designed specifically with the FMCG sector in mind.
You can read a bit more about the product here on the Xero blog but in short, Lightyear is accounts payable software with real-time line-by-line data extraction, offering price-checking within a customisable approvals workflow, and online bill storage for the regulatory 7 years.
For a free 30-day trial, please visit www.lightyear.cloud.
Once you have registered and created your businessname@lightyear.cloud account, you will need to setup Idealpos as your Inventory export format.
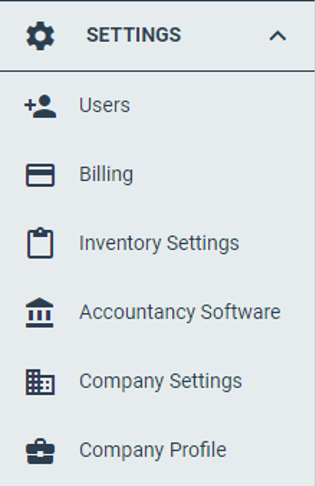
First, navigate to the left-hand ribbon, Click "Settings", then "Company Settings".
After selecting "Company Settings", activate Inventory/POS by selecting "Yes":

Click "Update Settings" to save changes:

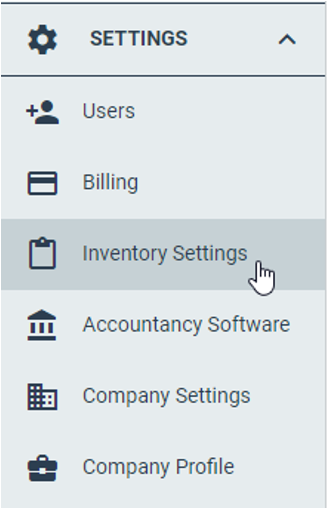
The "Inventory Settings" option will now appear under "Settings" on the left-hand ribbon.
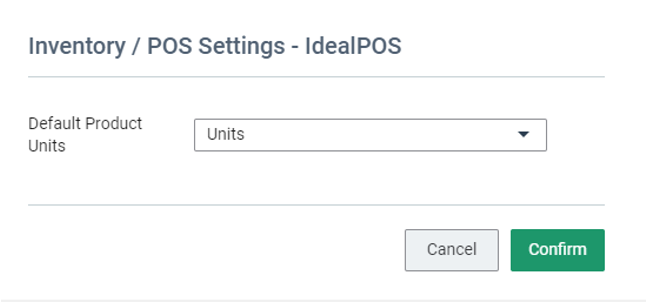
Select "Idealpos" from the Inventory/POS Software dropdown box

Under "Inventory/POS Settings, you will be asked to set a Default Product Unit.
If the majority of your Stock Items arrive in cases, then choose this option. Otherwise, select "Units"
By design, this can be changed at any time as different suppliers invoice Stock in different units.
Unit - Item that is sold as that item whole (e.g. 1 Duff Beer Bottle = 1 Unit)
Cases - Item that is made up of multiple units (e.g. A case of 24 Duff Beers = Case of 24)
This is a mandatory step because it makes your import process easier, however, Idealpos does not require the name of the Supplier within Lightyear's exported file.
You're adding a Supplier Name to identify each exported file more easily:
221219Duff_Brewery_Pty_Ltd.inv
Where the first 6 numbers are the delivery date DDMMYY and the next string is the name of the Supplier as Idealpos knows it to be. The ".inv" is the file type.
The simplest way to load these is upload as a .csv file generated from Idealpos (1 column only, Supplier Name):

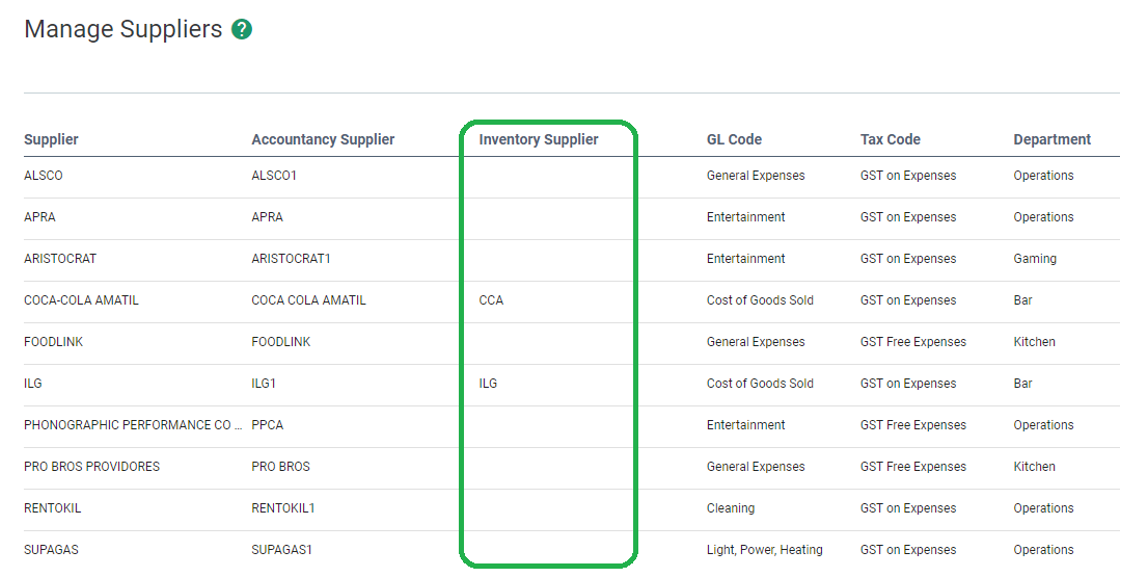
In Lightyear on the left-hand ribbon, click "Suppliers":
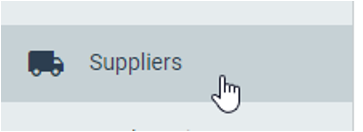
Select each suppler you would like to associate with Idealpos and click on the edit icon located on the far right.
Assign an "Inventory Supplier" from the relevant dropdown list (listed in this dropdown are the Suppliers you exported and uploaded from Idealpos).
Follow this link to be taken to Lightyear's help article on this subject.
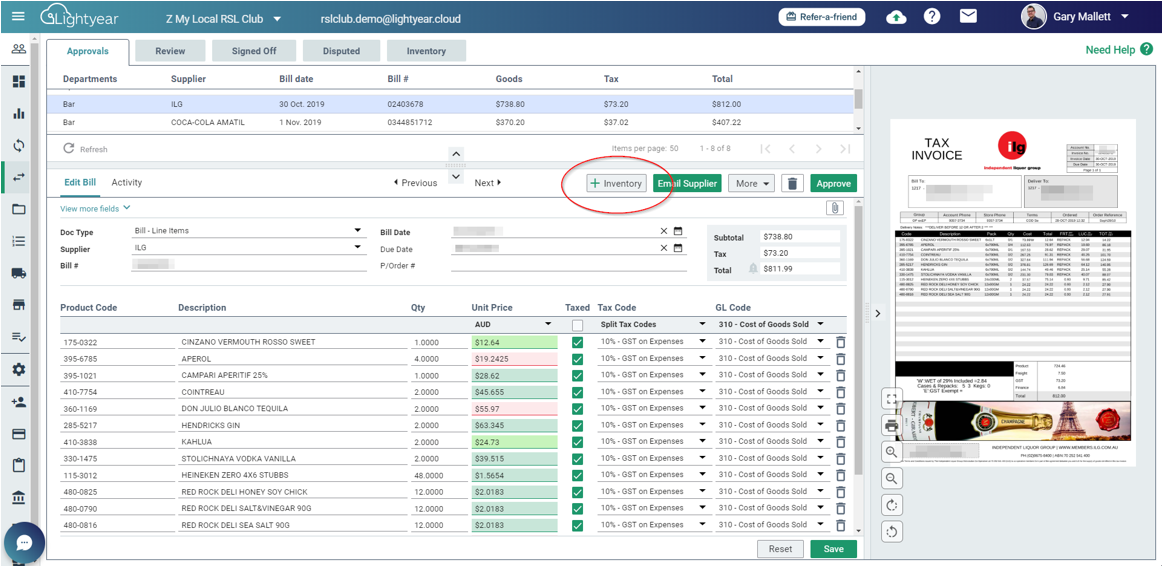
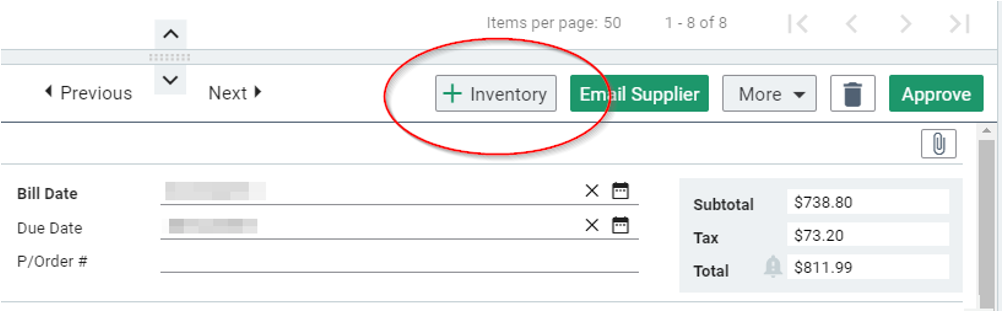
In short, select the bill that you want to export to Idealpos in Panel 1. From Panel 2 (below, containing the data extracted from the Invoice), click the "Add to Inventory" button"
Go to the Inventory tab and use the checkboxes to select which invoices you wish to export.
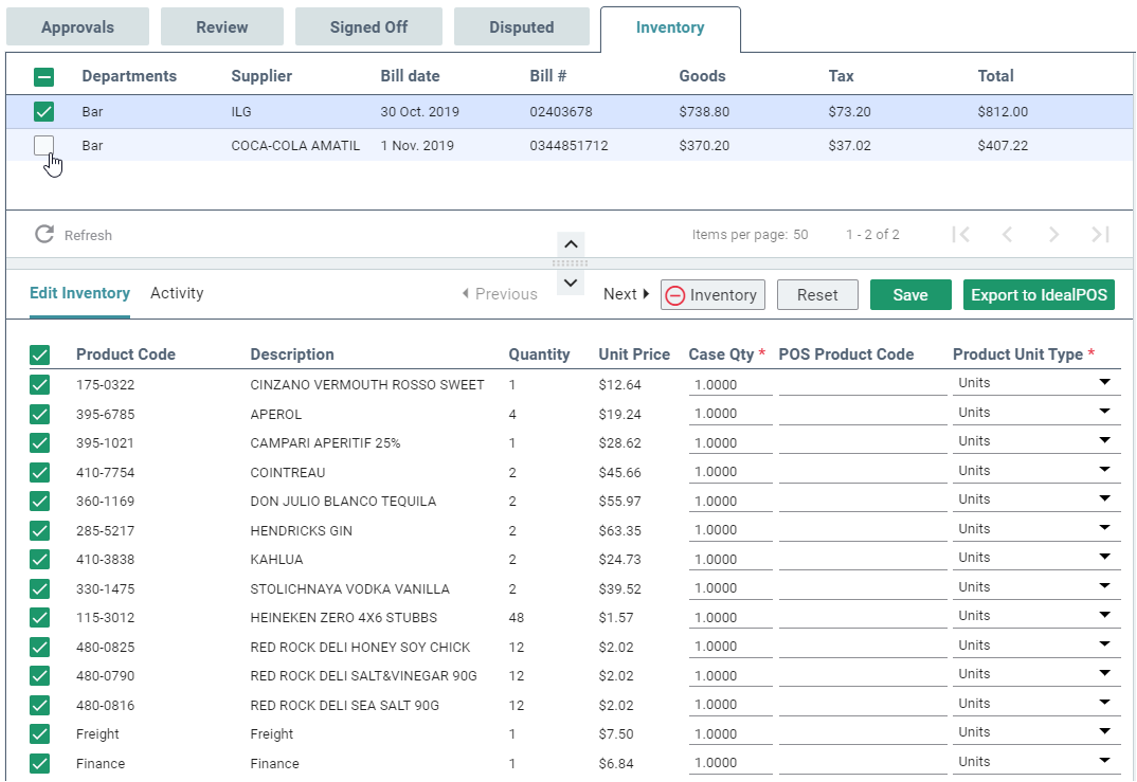
Once you click "Export to Idealpos" from the inventory tab, Lightyear will download a ZIP file to your browser's Download location.
Idealpos requires a file for each invoice, so to export many invoices at once, Lightyear needs to group them in .zip format.
Idealpos however requires an .inv file for import, so the .zip file will first need to be extracted before you can import it.
The extracted .inv files should be saved in the folder that Idealpos is monitoring which is found in:
Setup > POS Terminals > Modify > Import/Export > Automatic Import Settings > Import Folder.
Idealpos will detect the .inv files and prompt the user to receipt the purchases.